
What is the 0xc000000e Code Error in Windows? How to Fix it?
Summary
Did you just boot the system and were greeted by the 0xc000000e code error? If that’s the case, then I know how you would be feeling. It’s highly irritating and troublesome to get greeted by the 0xc000000e error code. But don’t panic – take a breath of relief, as we are here to help you get rid of it and continue your work.
In this piece, we will explore all that there is to know about 0xc000000e, as in – What is it? What are the reasons that this error code pops up while booting up the system? And the most important part – “How to fix the error code 0xc000000e in Windows?”
What is the 0xc000000e Code Error in Windows?
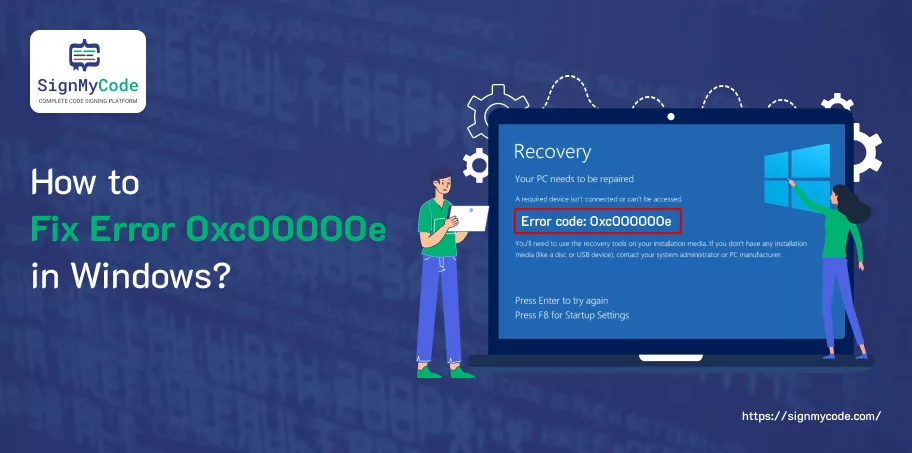
The 0xc000000e code error is one of the many error codes that can cause a Blue Screen of Death or a Black Screen of Death. The Recovery Error code 0xc000000e, Your PC needs to be repaired, is a type of error code that the Windows operating system shows when it encounters a problem (generally, missing or inaccessible boot devices) during the boot process. The 0xc000000e code error is also known as “STATUS_NO_SUCH_DEVICE.”
What are the Reasons Behind the 0xc000000e Code Error Pops Up?
One of the primary reasons that you might be greeted by the 0xc000000e code error is that the system is missing boot devices, or they (boot devices) are inaccessible. Apart from that, there are “n” number of other reasons as well, such as:
- Corrupted or missing boot configuration data
- Issues with the boot sector or Master Boot Record (MBR)
- Hard drive failure or connection problems
- The selected entry could not be loaded.
- Incorrect BIOS settings
- Incompatible or corrupted device drivers
- A required device isn’t connected or cannot be accessed.
- The selected entry could not be loaded as the application is corrupt or missing, etc.
How Can You Fix Error Code 0xc000000e in Windows 10?
Various methods or techniques can be used to fix the Error Code 0xc000000e in Windows. All these methods or techniques have been listed below. It’s advised that you start with the first method and move on to the subsequent one if the previous one didn’t work. Surely, one of these methods will make the error code go away.
Method 1: Inspect Physical Device Connections
Method 2: Reconstruct the Boot Configuration Data File
Method 3: Initiate Windows Startup Repair
Method 4: Enable WHQL Support Setting in Basic Input Output System
Method 5: Reset the Basic Input Output System/ Unified Extensible Firmware Interface Configuration
Method 6: Mark the Boot Disk as Online
Method 7: Uninstall Windows 10 & re-install it
Method 1: Inspect Physical Device Connections
First and foremost, the thing that you should look for is to verify whether there are any other devices, such as a pen drive, external hard disk, CDs, etc., that are connected to the system or not.
The reason behind doing so is that, sometimes, the Basic Input Output System (BIOS) is set up in a way that if any external devices, such as those mentioned above, are connected to the system, they will have a higher boot priority than the hard disk.
When something like this happens, the system tries to boot from the disk attached externally. And not from the drivers containing the operating system. Because of this, you get greeted by the error 0xc000000e when you boot the system. Hence, if any external device is attached, remove it and try booting the system once again.
Method 2: Reconstruct the Boot Configuration Data File
Boot Configuration Data, a.k.a. BCD, is a file that includes configuration parameters. These parameters consist of instructions on how to start the Windows operating system. If, somehow, the BCD file gets corrupt, then Windows will not be able to boot as it normally or usually does, and you will see the error 0xc000000e.
Recommended: How to Fix Msedge.exe Error in Windows?
In order to fix the corrupted BSD file, the only option that you have is to rebuild it on your system. But, as the system is not in a bootable state (is unbootable), the first thing that you have to do is to make a bootable USB medium from the International Organization for Standardization, a.k.a ISO, for Windows, and boot from it.
Once done, follow the steps mentioned below to rebuild the Boot Configuration Data file on your system:
- Boot your system from the bootable USB medium.
- The Windows Setup window will appear.
- In the Windows Setup window, click Next.
- The next page will appear.
- On that page, click the Repair your computer option.
- The Troubleshoot page will appear.
- On the Troubleshoot page, click Advanced option.
- The Advanced option page will appear.
- On the Advanced option page, click Command Prompt.
- Click on your account.
- Input the password of the device, if required.
- Type the bootrec /rebuildbcd command.
- Press Enter.
- Wait for a few seconds until the Windows installation is found.
- Once found, press Y on the keyboard.
- After the operation is completed, type the bootrec /fixmbr command.
- Press Enter.
- Type the bootrec /fixboot command.
- Press Enter.
- After the process ends, reboot the system.
- Verify whether the issue persists or not.
Method 3: Initiate Windows Startup Repair
The Windows Startup Repair Utility can diagnose and fix the issue found. It can scan not only system files automatically but also various other types of files (settings) as well, such as configuration settings, registry settings, etc. Once the issue is found, it tries to fix it by itself.
Follow the steps mentioned below to start or initiate the Windows Startup Repair Utility:
- Boot your system from the bootable USB medium.
- The Windows Setup window will appear.
- In the Windows Setup window, click Next.
- The next page will appear.
- On that page, click the Repair your computer option.
- The Troubleshoot page will appear.
- The Advanced option page will appear.
- On the Advanced option page, click Startup Repair.
- Windows will start to search for the problem automatically.
- Once the process ends, the system will restart.
- Verify whether the issue persists or not.
In case you don’t have the bootable USB medium, Windows can boot into WinRE automatically. But if it doesn’t appear, all that you need to do is to – “interrupt the boot process thrice in a row.” After doing so, the WinRE screen will appear.
Recommended: How to Solve svchost.exe High CPU Usage in Windows 11?
Method 4: Enable WHQL Support Setting in Basic Input Output System
The WHQL Support Setting does not exist in all. It only exists in a few of the original equipment manufacturers (OEMs).
The setting has two functions:
- First, during the boot process, it checks whether the drivers are digitally signed or not
- Second, it allows you to enable the Unified Extensible Firmware Interface (UEFI) support.
In case the system that you are using has Windows 8.1 or Windows 10, then you must enable the Unified Extensible Firmware Interface support to boot the system normally.
To do so, access the BIOS and verify whether the WHQL support setting is enabled or not. If not, enable it and then verify whether the error persists.
Method 5: Reset the Basic Input Output System/ Unified Extensible Firmware Interface Configuration
During our research, we found that resetting the BIOS/UEFI configuration can also get rid of the 0xc000000e issue. But, as you might know, BIOS or UEFI interfaces may vary across different computers.
Hence, check out the How to Restore the BIOS or UEFI (System Setup) to Factory Defaults on a Dell Computer article to learn the exact steps that you need to perform as per the system that you are using.
Method 6: Mark the Boot Disk as Online
In case the Boot disk is mistakenly marked as “offline,” your system won’t be able to boot. Hence, it could be one of the primary reasons why you are facing the error code 0xc000000e. Hence, to fix the issue, you must mark the Boot disk as “Online.”
Follow the steps mentioned below to mark the Boot disk online:
- Boot your system from the bootable USB medium.
- The Windows Setup window will appear.
- In the Windows Setup window, click Next.
- The next page will appear.
- On that page, click the Repair your computer option.
- The Troubleshoot page will appear.
- On the Troubleshoot page, click Advanced option.
- The Advanced option page will appear.
- On the Advanced option page, click Command Prompt.
- Click on your account.
- Input the password of the device, if required.
- Type the diskpart command.
- Press Enter.
- Type List Volume or List Disk.
- Press Enter.
- Type Select Volume or Select Disk.
- Press Enter.
- Type Online Volume or Online Disk.
- Press Enter.
- Type Exit.
- Press Enter.
- Close the Command Prompt window.
- Reboot the System.
- Verify whether the issue exists or not.
Method 7: Uninstall Windows 10 & re-install it
In case the error code 0xc000000e hasn’t been resolved yet, the last option that’s left for you is to uninstall Windows on your system. Before uninstalling Windows, preserve all your files from getting deleted using data recovery software.
It doesn’t matter the type of data recovery software that you are using, whether it’s from a reputable company or third-party software.
Follow the steps mentioned below to uninstall Windows and reinstall it:
- Use a bootable USB drive to boot the system.
- After booting, the Windows Setup page will appear.
- On the Windows Setup Page, click Next.
- Click on the I don’t have a product key link (assuming the operating system was activated earlier).
- Under the Select the operating system that you want to install option, click on the operating system that you need.
- Click Next.
- Check the checkbox placed in front of the I accept the license terms option.
- Click Next.
- Under the “Which type of installation do you want?” section, click Custom: Install Windows only (advanced).
- Under the “Where do you want to install the Windows?” section, click on the drive on which you want to install the Windows.
- Click Delete to remove the partition.
- Click OK.
- Select the empty partition.
- Click OK.
- The Windows reinstallation process will start.
- Create a new account.
- Wait for the Windows reinstallation process to end.
- The system will boot normally.
Conclusion
Protect your Windows software or app by purchasing a trusted code signing certificate and prevent malwares and code tampering.
Microsoft Authenticode Signing
Verify the Integrity of your Software by Adding Authenticode Signature on 32/64 bit Software Binaries using Code Signing Certificate.
Buy Authenticode Code Signing Certificates
