
How to Configure KeyLocker for Click-to-Sign & Sign Windows Files?
What is DigiCert KeyLocker?
DigiCert KeyLocker is a cloud-based Hardware Security Module (HSM) that can help you reliably protect code signing private keys in a regulated, centralized, and controlled environment.
Rather than using traditional hardware tokens or USB devices that may get lost or misused, KeyLocker stores private keys securely and centrally on a trusted cloud-based HSM and can only be accessed through policy-based controls and multi-factor authentication.
The expectation is that a code signing key would not be exposed or exported from the KeyLocker service, and this would dramatically minimize the risk of compromise, theft, or misuse.
What is DigiCert Click-to-Sign?
DigiCert Click-to-Sign is a lightweight application for Windows that dramatically simplifies code-signing. Users can sign an executable file with a few clicks of the mouse directly from a file explorer, rather than having to run complicated scripts or command-line tools.
Click-to-Sign is specifically designed to work with DigiCert’s KeyLocker, which greatly improves the signing experience by removing unnecessary complexities, which speeds things up.
Users will progress through a guided interface to select certificates, define digest algorithms, and enable timestamping, ensuring files are signed by industry standards and helping to protect the integrity of signed files.
Click-to-Sign is useful for developers, testers or teams with an occasional need to sign software for distribution in small groups or semi-autonomously without installation or performance overhead from an automation tool.
Click-to-Sign connects with DigiCert’s KeyLocker using secure API keys and client certificates ensuring that private keys are protected at all times. Click-to-Sign is also designed to be simple to deploy, without sacrificing security.
It tackles the gap between advanced cryptographic operations and simple, user-friendly design by offering users the ability to securely sign and distribute Windows files without specialized knowledge.
Prerequisites
Once all of the requirements are satisfied, the user can now configure DigiCert KeyLocker and utilize Click-to-Sign to digitally sign Windows files securely, compliantly, and efficiently.
DigiCert ONE Account with KeyLocker Access
Before you can modify Click-to-Sign, you will need to obtain a DigiCert ONE account with access to the KeyLocker service.
DigiCert ONE is the unified platform that contains KeyLocker, which manages all key management information, certificate issuance, and signer roles.
This account must also have an active membership with DigiCert to ensure KeyLocker is turned on, since this service is not available in all DigiCert offerings.
If you are unsure of your access, reach out to DigiCert support or account administrator to confirm your subscription is active with KeyLocker services.
Code Signing Certificate Issue via CertCentral
To utilize Click-to-Sign with KeyLocker, you must have a valid code signing certificate issued through DigiCert’s CertCentral portal.
Also Read: How to Purchase a DigiCert KeyLocker Certificate?
CertCentral is the certificate lifecycle management system for DigiCert, and it’s responsible for requesting, approving, and managing code signing certificates. Once a request for a certificate is approved, the certificate is added to KeyLocker’s cloud HSM.
Most importantly, Click-to-Sign will not accept any certificates not added to KeyLocker. The certificate issuance should also have a certificate type that is compatible with KeyLocker and supports the signing of Windows executable files.
Recognized Signer Role for Code Signing Certificate
Only the appropriate recognized signer for the specific certificate in KeyLocker may perform code signing by Click-to-Sign. This means that the DigiCert ONE administrator explicitly assigned you as the signer for this certificate.
KeyLocker only allows one signer at a time per certificate, but you may change the signer during the certificate lifecycle. You will receive a permission error when you attempt to use Click-to-Sign if you are not the recognized signer.
KeyLocker Signer or Lead Role Assignments
The user account needs to be assigned one of the two roles, KeyLocker Signer or KeyLocker Lead. The KeyLocker Signer role allows the user to sign files using the certificate assigned in KeyLocker, but does not allow administrative changes; the KeyLocker Lead role has additional privileges, including certificate management and inviting users.
Depending on your use case, ensuring you have the right role is very important because it will ensure accessing your certificates and keypairs during the signing.
Installation of Click-to-Sign Tool on Windows Desktop
You need to install the DigiCert Click-to-Sign desktop application on your Windows desktop. This tool will allow you to sign files via a graphical interface and requires minimal setup (authentication).
The latest version of the tool can be downloaded from DigiCert’s official resources or documentation site.
This application must be installed with administrative privileges to make sure that it has access to the system level functions for protected file signing and secure network communications with KeyLocker service.
Client Certificate and API key for Click-to-Sign authentication
The Click-to-Sign authentication mechanism requires two credentials for a secure connection to KeyLocker: Client Certificate and API Key.
The client certificate is needed for mutual TLS authentication between your local machine and the KeyLocker platform, while the API key is used to authenticate your account access and permission scope.
The client certificate and API key can be downloaded from the DigiCert ONE Manager under your user profile. You will need to import both of these credentials into the Click-to-Sign application during installation and the initial setup of the application.
Windows Executable Files are ready for Signing
In order to use Click-to-Sign you need Windows executables ready to sign. These can be .exe, .dll, .msi, .ocx as well as other file types.
Also Read: Also Read: How to Configure DigiCert KeyLocker on Windows?
Note that once you sign them, you need to finalise the files, and do not make changes after this signing occurs, as the digital signature will become useless after changes are made.
It is important that your build process creates a version of your software that is final when you sign it, so as to demonstrate that the digital signature is trustworthy.
Administrative Permissions on Workstation
Click-to-Sign communications with system level components including Windows Certificate Store and network interfaces requires you to have administrative permissions on the workstation that has Click-to-Sign installed.
If you do not have administrative permissions, some configurations could fail, and you may not have access to protected directories or be able to install certificates.
If you are an organization in a managed IT environment then check with your system administrator to make sure you can have it set up properly and have the correct access level.
Internet Connectivity and Firewall Permissions
The Click-to-Sign tool requires a stable internet connection to communicate with DigiCert KeyLocker’s HSM cloud-based service (root of trust), so make sure that your network and firewall settings allow an outbound web browser HTTPS session to DigiCert’s KeyLocker endpoints.
If your organization uses a proxy server, you may need additional configurations on your network and/or on your workstation so that Click-to-Sign can authenticate and transmit the signing request data securely.
Furthermore, if your organization has restrictions on the network or if you have not configured your proxy correctly, you may receive errors or time-outs when Click-to-Sign attempts to authenticate and send the signing request.
Optional – Timestamping URL Access
Click-to-Sign has support for timestamping as a part of its long-term validation of digital signatures.
Timestamping issues a trusted timestamp from a Time Stamping Authority (TSA), allowing signed files to continue to be valid even after the signing certificate has expired.
You will need to confirm that your network allows access to DigiCert’s TSA endpoints, which are typically HTTP or HTTPS.
Timestamping is highly recommended in production configurations where signed software could reside in production or be distributed a long time after the certificate’s expiration date.
Steps to Configure KeyLocker to use with Click-to-Sign and Signing Windows Files
Using DigiCert’s KeyLocker with Click-to-Sign allows you to securely sign your Windows executable files from a cloud service provider without the signing key ever leaving the cloud HSM (Hardware Security Module) environment, following code signing security best practice procedures.
The steps below show how to configure your environment and get started signing files using this easy but powerful setup:
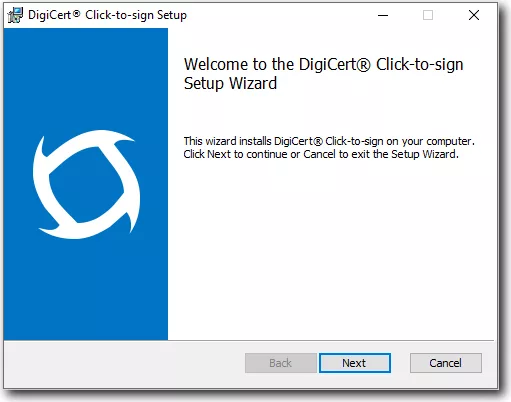
Step 1: Installing Click-to-Sign:
1. Start by running the DigiCert Click-to-Sign installer. The installer is typically found at: C:\Program Files\DigiCert\DigiCert KeyLocker Tools\DigiCert_Click_to_sign.msi
2. When the installer window appears, click Next.
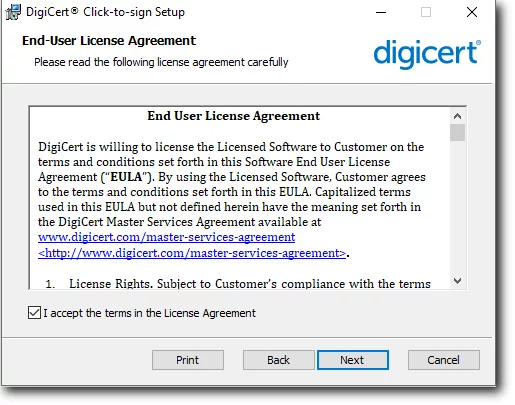
3. Accept the License Agreement by checking I accept the terms, and then click Next.
4. Choose the directory where you want Click-to-Sign installed, then click Next.
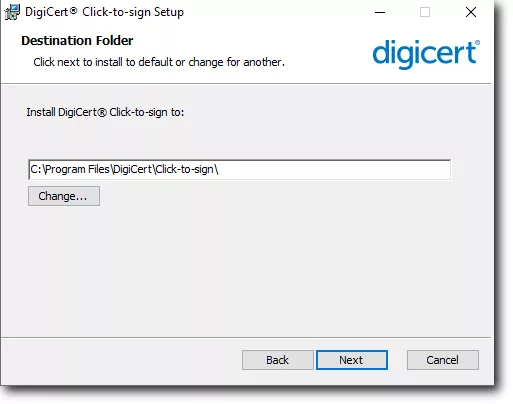
Default Location: C:\Program Files\DigiCert\Click-to-sign\
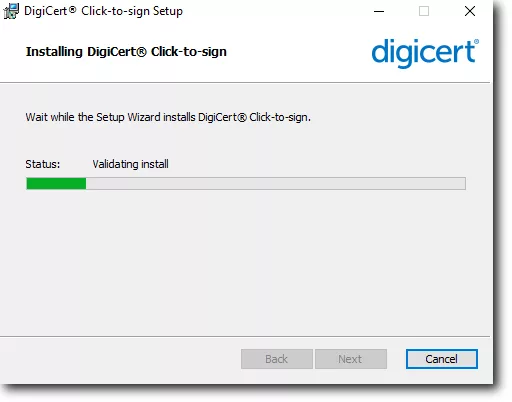
5. Click Install to begin the installation process.
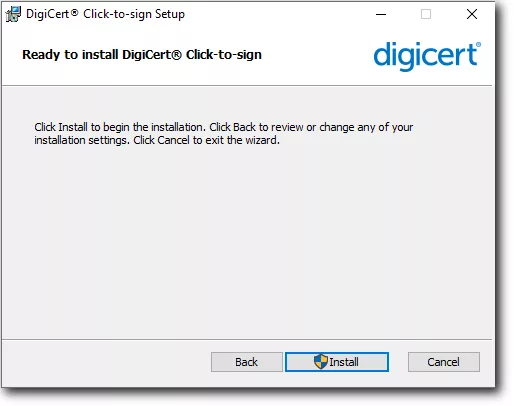
6. Wait for the installation to finish.
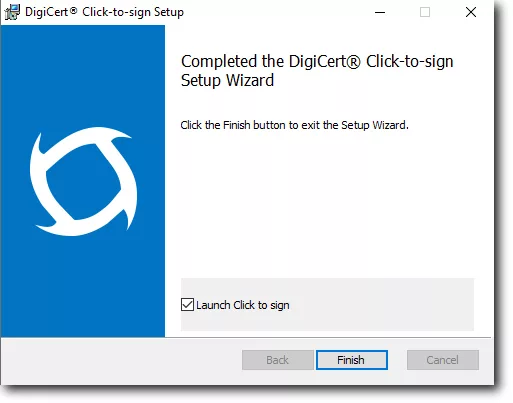
7. Once Installation is complete, check Launch. Click to sign and click Finish.
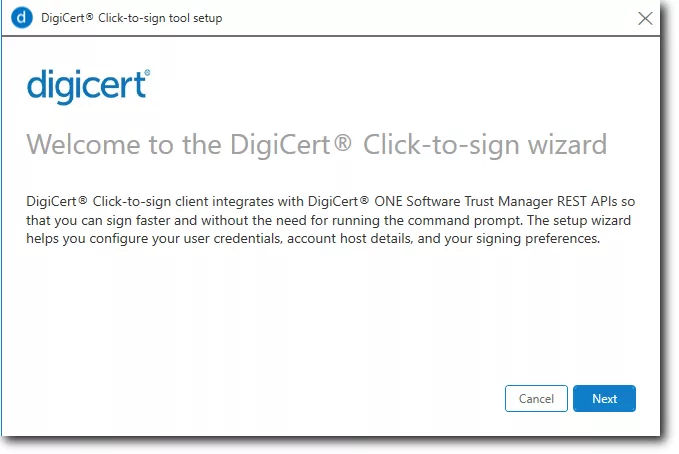
Step 2: Setting Up Click-to-Sign:
1. When the setup wizard opens, click Next.
2. Enter your KeyLocker account information when prompted:
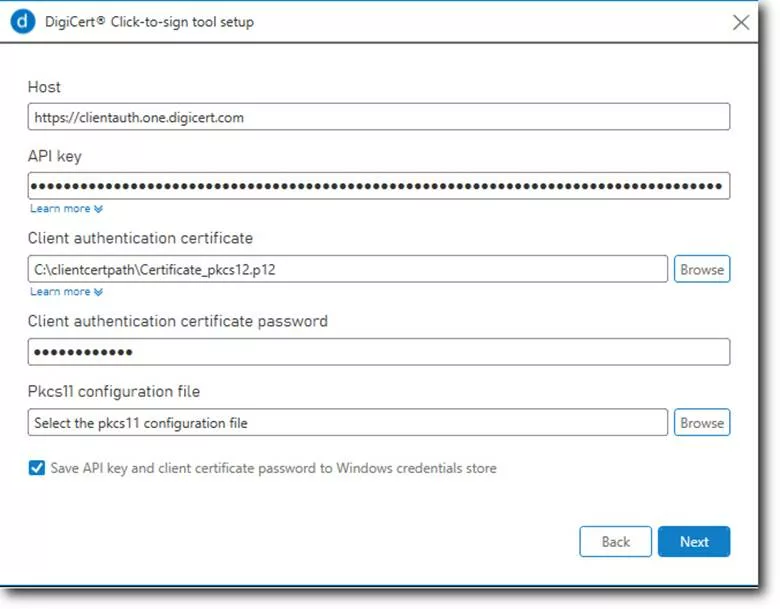
- Host: https://clientauth.one.digicert.com
- API Key: Input your KeyLocker API key.
- Client Authentication Certificate: Specify the path to your certificate file.
- Certificate Password: Enter your certificate’s password.
- PKCS11 Config File: (For JarSigner users) Specify the path to the PKCS11 config file, default:
C:\Program Files\DigiCert\DigiCert KeyLocker Tools\pkcs11properties.cfg
3. Check Save API key and client certificate password to Windows credentials store, then click Next.
4. After your credentials are saved, click OK.
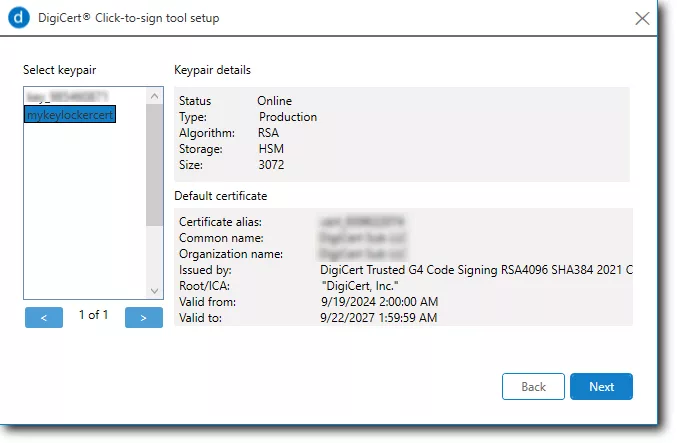
5. Select your signing certificate by clicking on the keypair alias, then click Next.
6. Once the keypair and certificate are saved, click OK.
7. Choose the Digest algorithm you want for signing.
Note: Uncheck Include timestamp if you prefer not to add a timestamp.
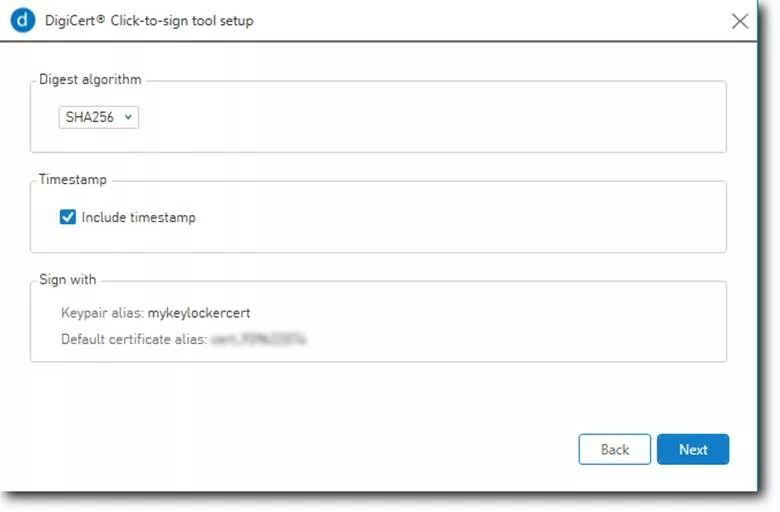
8. Confirm the correct keypair alias and click Next.
9. After saving your settings, click OK.
10. The final screen will summarize the file signing process.
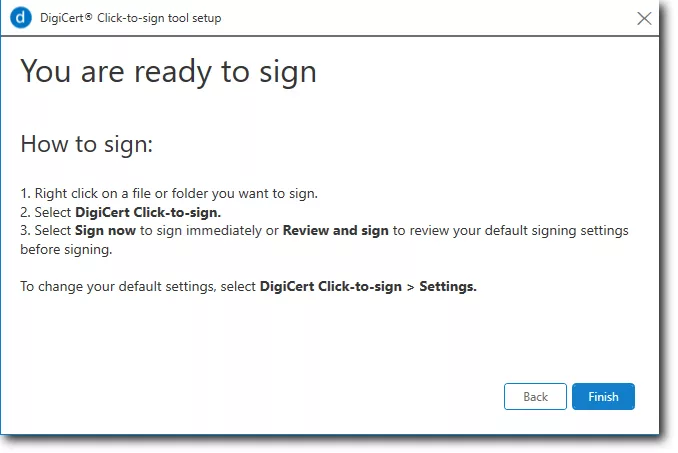
11. Click Finish when ready.
Step 3: Signing a Single File:
You can use Click-to-Sign directly from Windows File Explorer.
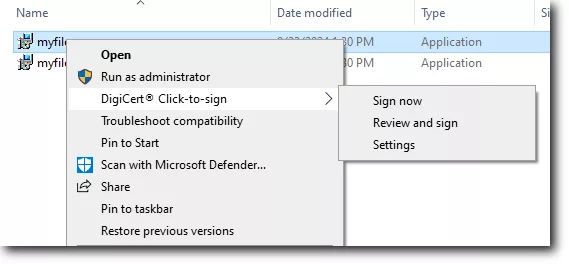
1. Find the file you want to sign using File Explorer.
2. Right-click the file, select DigiCert Click-to-sign, then choose Review and sign.
3. Verify that the correct Keypair, Digest Algorithm, and Timestamp settings are selected.
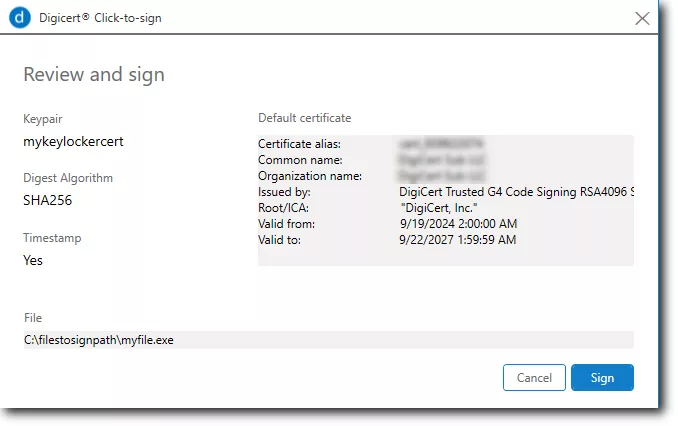
4. Click Sign when ready.
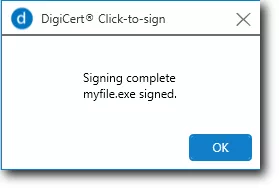
5. After a few moments, your file will be signed. Click OK to complete.
Step 4: Signing Multiple Files:
1. Open File Explorer and navigate to the folder containing the files you want to sign.
3. Make sure your Keypair, Digest Algorithm, and Timestamp settings are correctly set.
4. Click Sign to begin signing all files in the folder.
5. Depending on the number of files, signing may take some time.
Once done, click OK.
Conclusion
Get your DigiCert KeyLocker Code Signing Certificate today from SignMyCode and begin the signing process for your applications with confidence. SignMyCode offers great pricing, expert support, and instant certificate issuance for developers and organizations looking to get started with cloud-based code signing.
Don’t compromise security; make your software tamper-proof and trusted with SignMyCode!

Cloud Code Signing
Seamless Automated Code Signing Tasks without Need of Physical HSM or Token using Cloud Code Signing Certificate.
Code Signing as a Service
