
Generate & Import PKCS#12 or PEM Files Into Microsoft Azure Key Vault
Note: Due to new CA/B, All code signing certificates now stored on FIPS 140-2 or Common Criteria EAL 4+ compliant Hardware Security Module (HSM) or Yubikey USB tokens. So, code signing certificates will no longer be exportable or no direct link issuing process.
Let’s learn how you can generate and import PKCS#12 or PEM files into Microsoft Azure Key Vault. In addition, this method is proper for Standard Code Signing Certificate (Organization Validated & Individual Validated both).
Follow the below steps to generate and import the certificate into the Microsoft Azure Key Vault:
Step 1: Select and Click Key Vault
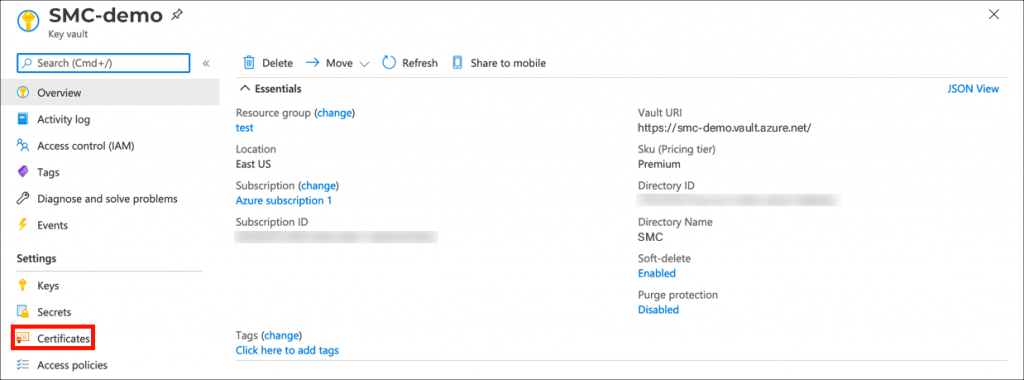
Sign in within the Azure portal and select the options key vault where you’re looking to install your security certificate.

Step 2: Click & Open Certificates Settings
From the Setting menu on the left side, select Certificates
Step 3: Click the Option Generate/Import Option
Go to the option Generate/Import at the top and click on the link to start the process of importing.

Step 4: Select the Import Option
From the Method of Certificate, Creation menu, select the option Import
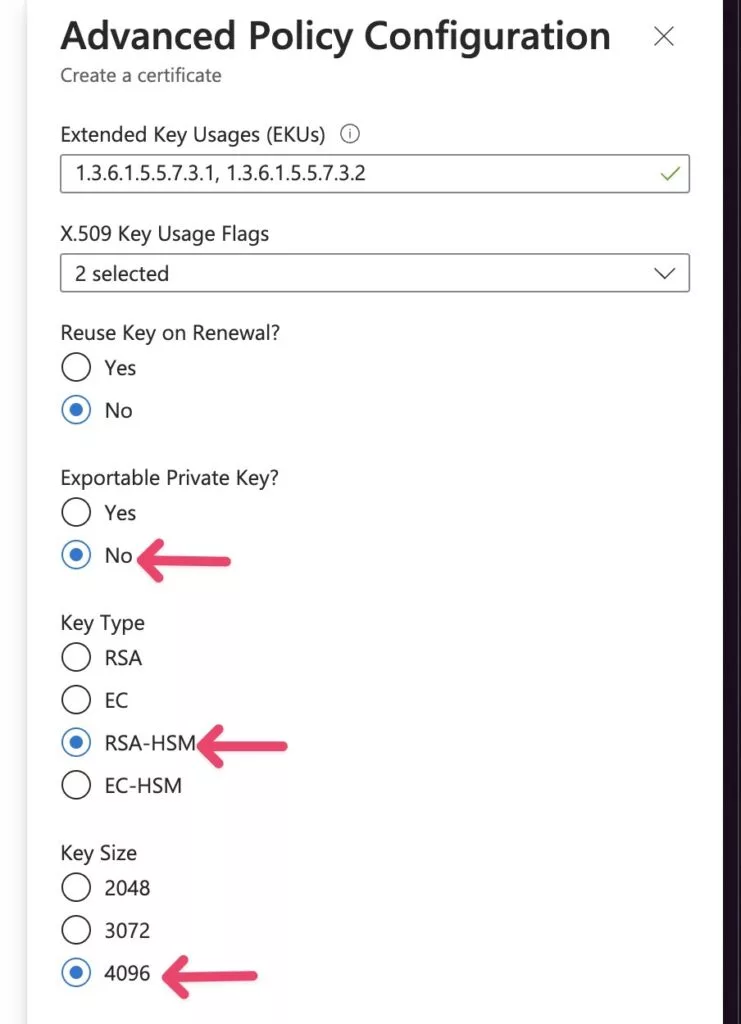
Note: RSA-HSM key type is required by DigiCert CA as of June 2023 as per new storage key requirement. So, Azure will store the certificate on FIPS 140-2 level 2 certified HSM.(Check Below Image)
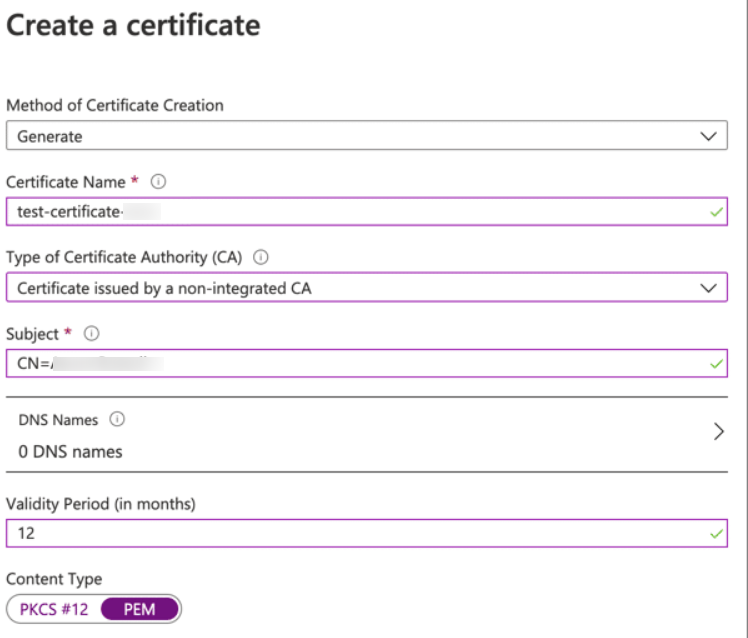
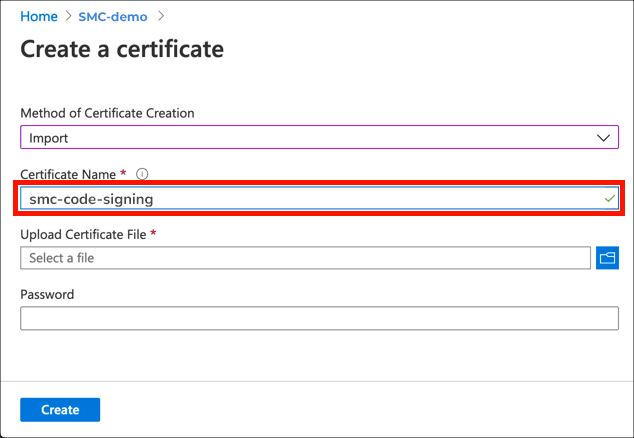
Step 5: Enter Your Certificate Name
In the Certificate Name field, enter a unique name you would like to keep for the certificate. Make sure the name contains only alphanumeric characters and dashes.
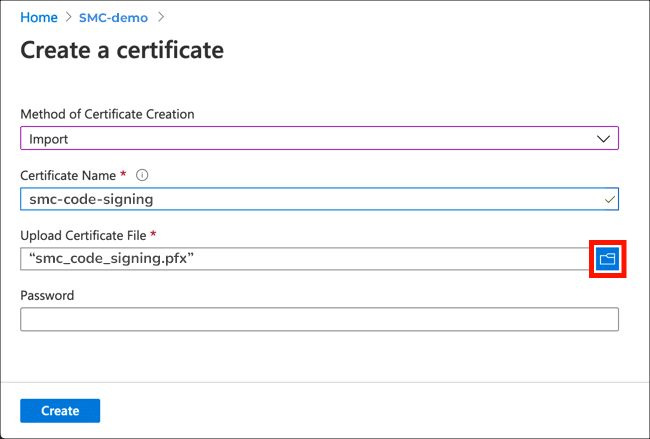
Step 6: Upload Certificate
Under the Upload Certificate File option, select and click the Folder icon and browse through your PCKS#12 certificate file you wish to install.
Note: Microsoft Azure asks for extension .pfx for PKCS#12 file upload. So, if you’ve got a .p12 file, you’ll need to change it to a .pfx file.
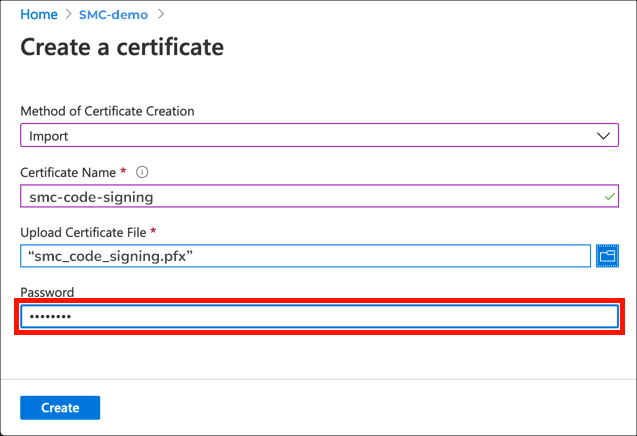
Step 7: Enter Password of PKCS#12 File
Enter the password for your PCKS#12 file. Similarly, ensure that the password you enter is the same one you used when generating or retrieving the certificate.
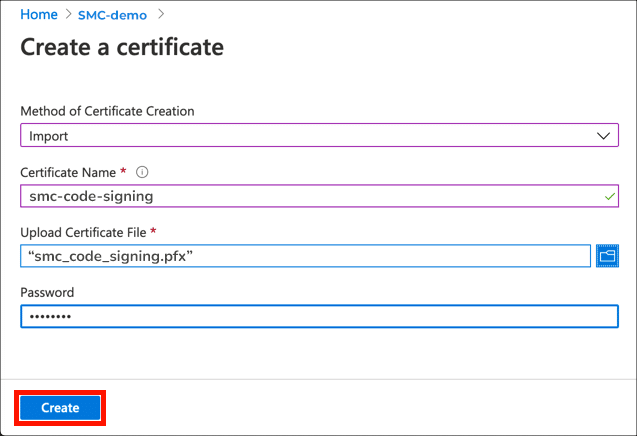
Step 8: Click the Create Button
Lastly, click on the Create button.
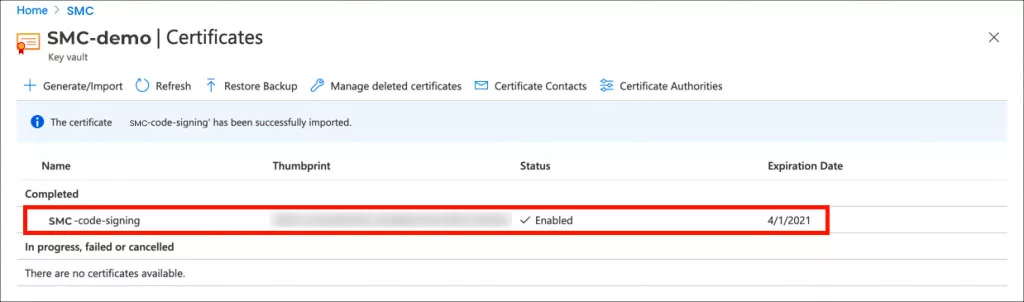
Finished
Once you click the Create button, the certificate file and private key will get imported into the Key Vault. Similarly, it’ll be available for use.

Cheap Code Signing Certificates
Prevent Code Tampering and Authenticate Code Integrity by Digitally Sign your Code with Trusted Code Signing Certificates.
Starting at Just $215.99/Year
