
How To Use YubiKey To Sign Windows Executable File?
Securing a private key and Code Signing certificate is extremely necessary as code tamper-proofing. And one of the reliable ways to secure them is using Yubico YubiKey FIPS compliant Hardware Token.
Here, you will find out the complete process of importing the certificates to YubiKey. And how to use it for signing an executable file.
The Need for YubiKey FIPS-Compliant Hardware Token
Whenever an individual software developer or a company needs to publish software, code signing gets performed. It helps to build a trustworthy relationship with end-users, as signed software eliminates Unknown Publisher Warnings.
Recommended: Unknown Publisher Warning – What Is It & Why Should You Care?
Recently, according to new CA/Browser policies, every certificate owner needs to store the private key in a hardware token. And the token must align with FIPS standards. Otherwise, the certificate will not get issued.
Recommended: Important Changes in Issuing OV Code Signing Certificate From June 2023
And when it comes to FIPS aligning tokens, Yubico YubiKey tops the list. It aids in storing certificates and associated private key in a secure ecosystem, preventing unauthorized access.
Also, it seamlessly works with Windows OS, and you don’t need any paid or additional tools to use it. With the signtool utility, you can easily perform code signing using YubiKey HSM.
Prerequisites To Complete Before Signing Using YubiKey
Before you start with the code signing using Yubikey, ensure that you tick off the following checklist:
- You have a compatible YubiKey Token such as YubiKey 5 NFC FIPS.
- A Code Signing Certificate from an authorized CA, such as Comodo, DigiCert, Certera, and Sectigo
Video Guide to Sign .EXE File using YubiKey Manager
Step-By-Step Guide to Sign an Windows Executable File Using YubiKey
Once you obtain a Code Signing Certificate and a compatible YubiKey, it’s time to start with the signing process. To tamper-proof the code, follow the steps:
Step 1: Importing the Certificate to YubiKey Manager
- Ensure that you have completed the validation form and received your signed code.
- Connect your YubiKey device to your computer.
Follow the Steps to Import (Install) Code Signing Certificate to YubiKey!
Step 2: Signing an Application Using Sign Tool
Step 1: To sign an application, you have two options: an online utility or PowerShell and the Sign tool.
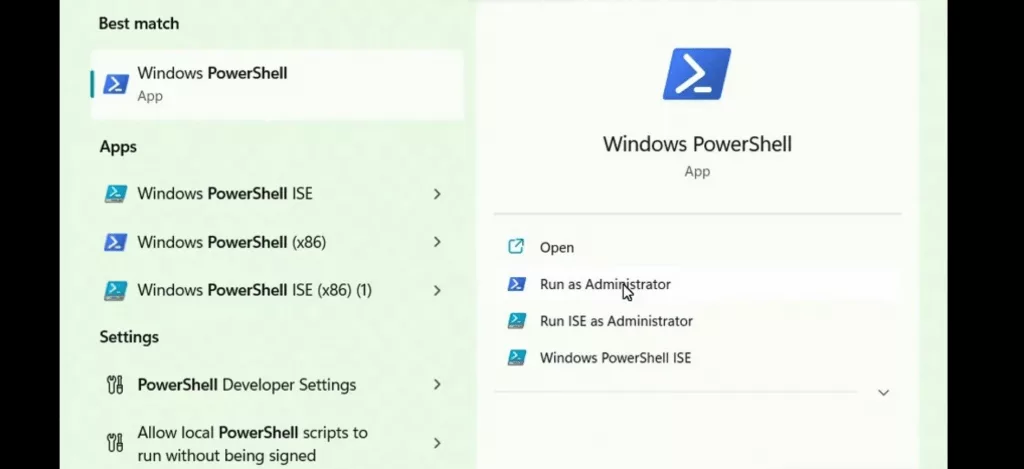
Step 2: If you choose to use the Sign tool, begin by downloading it from the official Microsoft website. Install it on your computer.
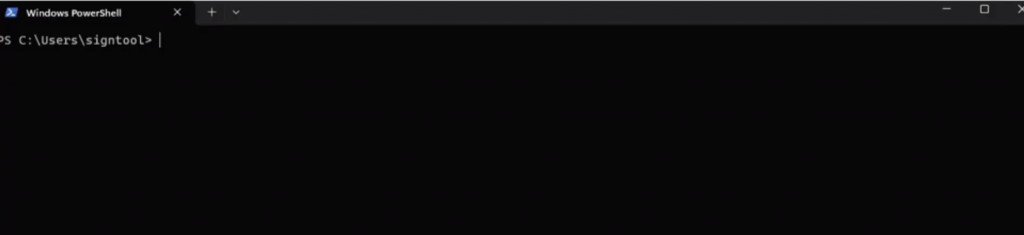
Step 3: Open a command prompt or PowerShell window and navigate to the directory where the Sign tool .exe file is saved.
Step 4: Retrieve the service certificate’s thumbprint from the certificate’s details column.
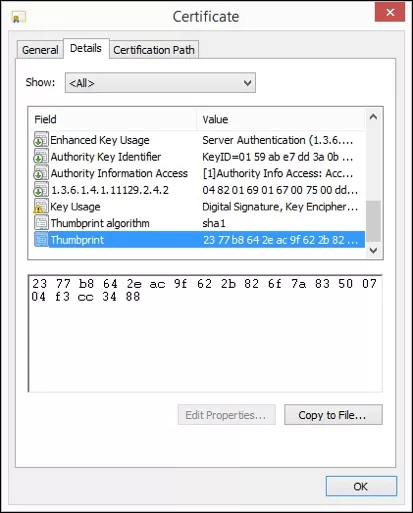
Step 5: Use the following command as a template for signing your code, replacing the “thumbprint” and “timestamp URL” with the appropriate values. You can use any timestamp server URL.
.\signtool sign /sha1 <thumbprint> /fd sha256 /t <timestamp> C:\path\to\your_application.exeStep 6: After replacing the values, your command line should resemble the example given below:

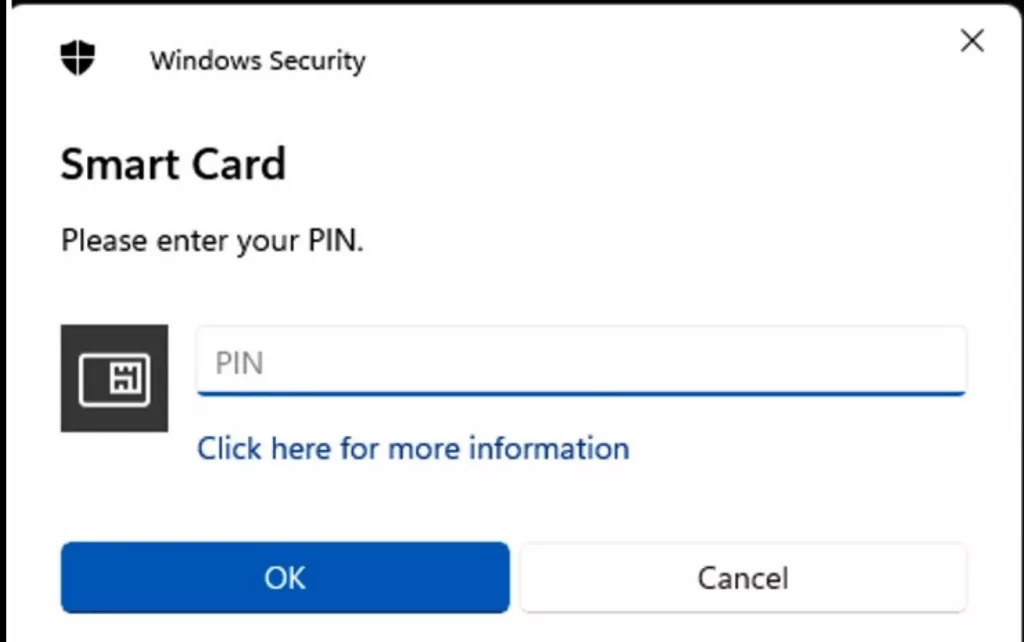
Step 7: Run the command, and a pop-up window will prompt you to enter the default PIN(123456) for your YubiKey.
Step 8: If the above pop-up window does not appear, ensure that your command is correct and all the necessary values are replaced accurately.
Step 9: Once you enter the default PIN, you will receive a success message indicating that the file has been successfully signed.

Step 10: To verify the signature, you can view the properties of your .exe file.
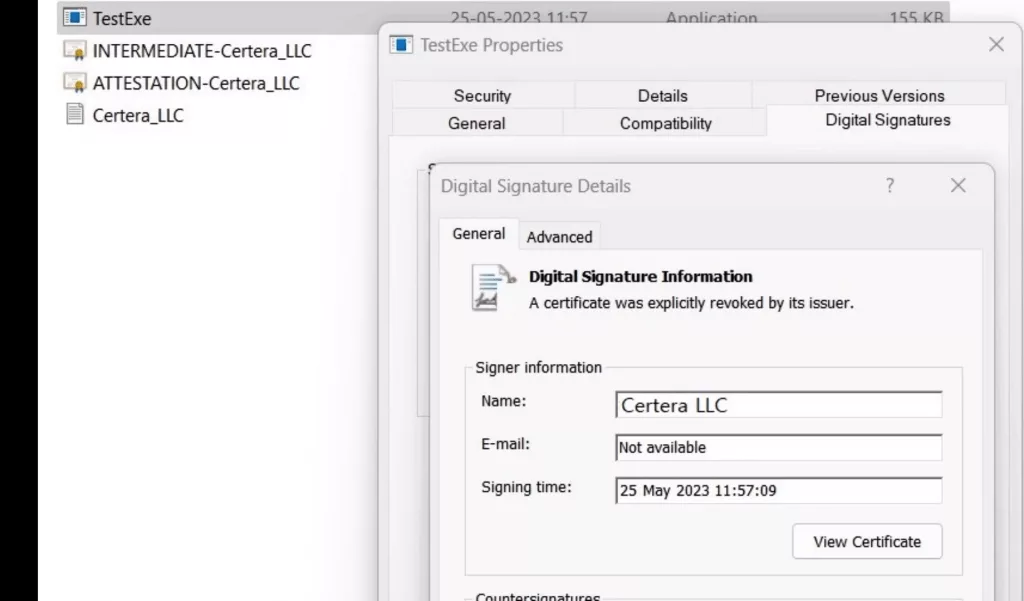
By following this tutorial guide, you have learned how to import a certificate to a YubiKey manager and sign an application using the Sign tool.
These steps ensure the integrity and authenticity of your code by applying digital signatures.
YubiKey Common FAQs
What does YubiKey Code mean?
Primarily, YubiKey functions as a second layer of authentication for Microsoft, Google, and other online services. And the YubiKey code is the AES-encrypted 128-bit password that gets created through the concatenation of YubiKey fields.
How can I utilize YubiKey for authentication purposes?
To utilize YubiKey for authentication, follow the steps below:
Step 1: Access the Yubico Authenticator App and click on Control.
Step 2: Select the Scan option to scan the QR code, getting displayed on the screen.
Further, duplicate the QR code and store it to use it as a backup.
Is YubiKey a Private Key associated with Code Signing Certificate?
Yubikey is not a private key. It’s a FIPS-compliant Hardware Security Module that aids in securely storing private key and associated certificates. It allows one to import a private to it or generate one directly to YubiKey storage.
Is Certificate Configuration possible with YubiKey?
To perform certificate configuration, run the YubiKey Manager tool on your machine. Once it opens, go to Home Page>> Applications >>PIV.
Further, select Certificates >> Configure Certificates.
What does YubiKey Key Generation and Attestation refer to?
Every YubiKey contains a private key and a certificate by default. It aids you in generating an attestation certificate to ensure private key generation on the YubiKey.
Recommended: Private Key Generation and CSR Attestation with YubiKey Manager
Does YubiKey comply with FIPS standards?
Yes, YubiKey complies with FIPS standards. However, you must select the correct version before you order it. You must always check the compliant version list before you avail one for you.
It would help you align with CA/B forum policies and seamlessly utilize the code signing certificate.

Cheap Code Signing Certificates
Prevent Code Tampering and Authenticate Code Integrity by Digitally Sign your Code with Trusted Code Signing Certificates.
Starting at Just $215.99/Year
